Welcome
Red Bucket Farm is an urban farm on a quarter acre property in an average residential neighborhood. We are located in Wisconsin, USDA Zone 5. We focus on chickens, bees, orchard fruit, and raised garden beds for fruits and veggies. We hope to reduce our footprint on the planet by growing some of our food, reducing our use of fossil fuels, and gardening with sustainable practices. Thanks for visiting!
Tuesday, July 23, 2013
Onion Harvest
In April I planted two different varieties of onion: Copra hybrid for long term storage through the winter, and Candy hybrid for sweet eating. The onions have grown well this year, presumably due to so much rain in June and plenty of heat in July.
Last week the Candy hybrid onions began flopping their leaves dramatically, indicating they are mature and ready to harvest. This week they became uniformly droopy, although it seems rather early in the summer to harvest. Nevertheless, I decided to get them out of the ground this week so they won't rot in the ground next week while I am away from the farm.
The Candy hybrid onions are now drying and curing on open shelves inside the greenhouse. After curing, they'll store in a cool place for several weeks. The Copra hybrid, which is most of my crop, is still in the ground. I'll harvest the Copras in a couple of weeks, and then replant that raised bed with spinach, arugula and Swiss chard.
Monday, July 8, 2013
Canning vs. Freezing
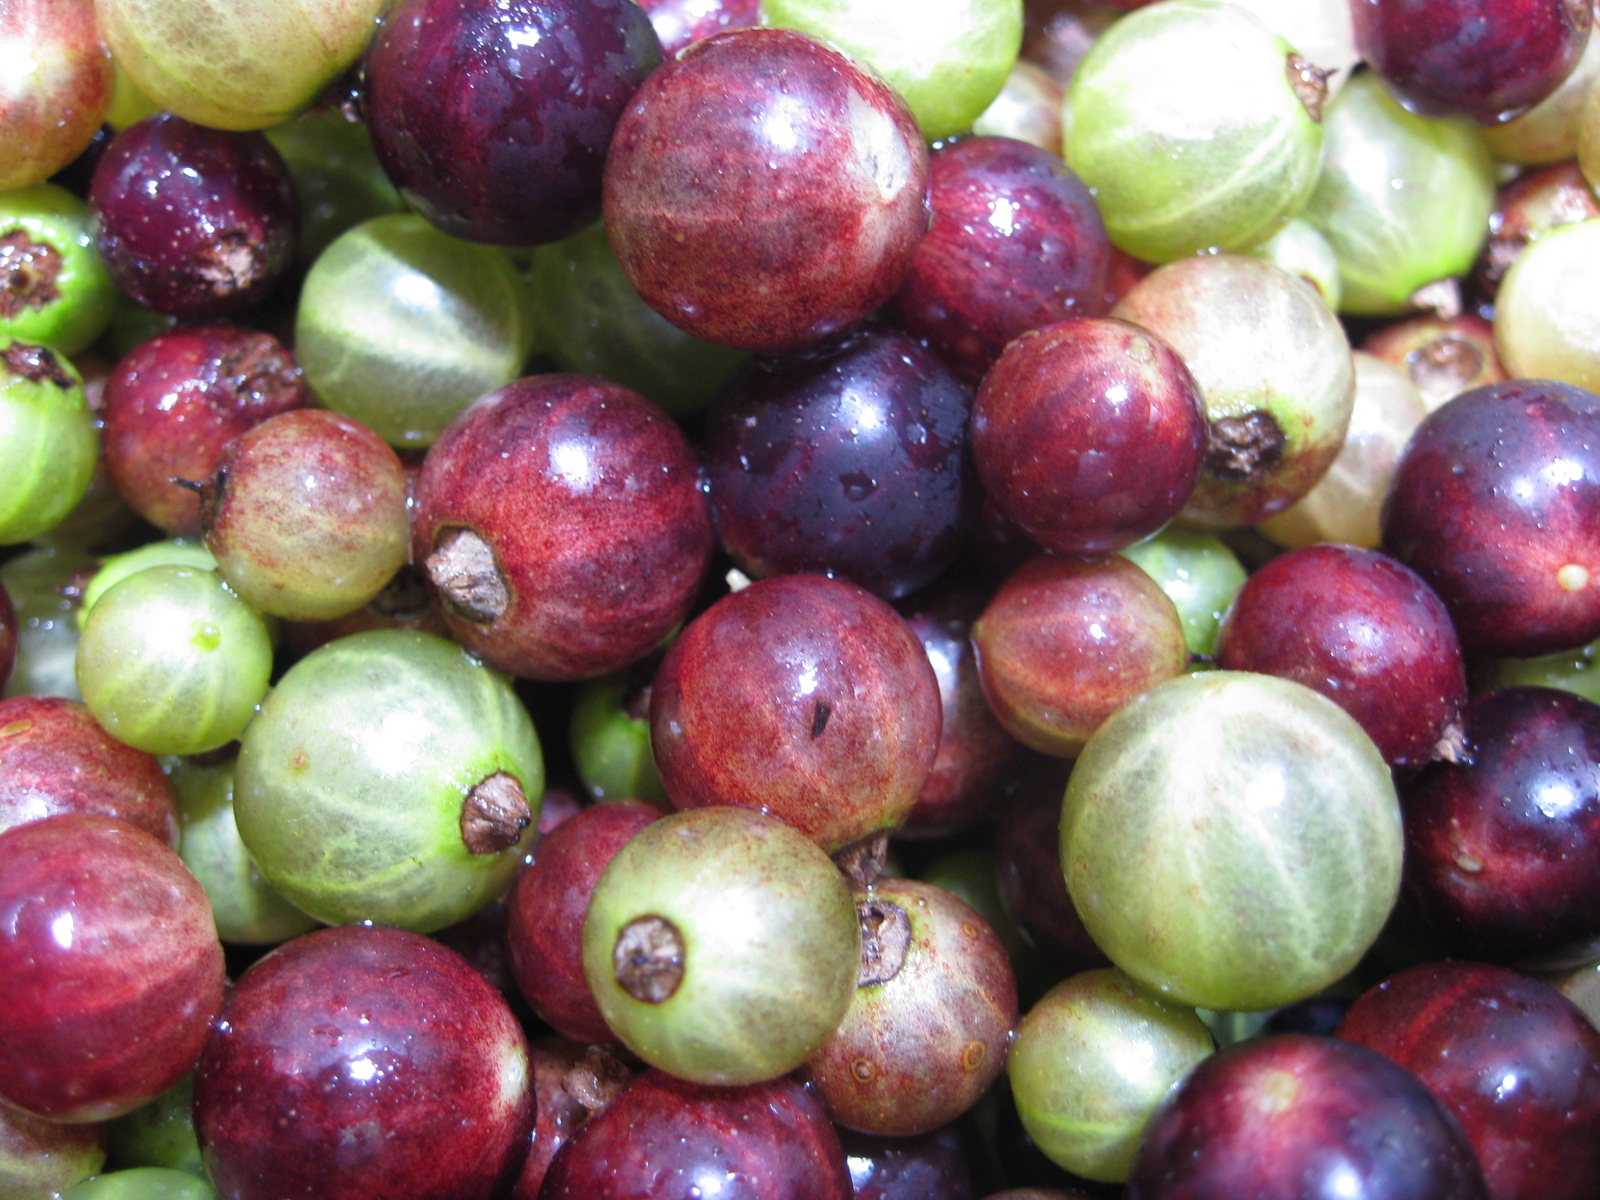
It rained a record-setting eleven inches in the month of June at Red Bucket Farm, which seems to have pleased our fruit bearing plants, bushes and trees. In the last few weeks, we've harvested many pounds of strawberries, rhubarb, currants and cherries. The raspberries, blueberries and tomatoes are just beginning to ripen, which will be followed by peaches and more vegetables.
What do we do with all the harvest? Our free-standing freezer is modest in size, so we follow the advice of our friend Lynn who says, "Can what you can and freeze what you can't." So far we have canned strawberry jam, apricot jam, rhubarb-currant jam, and currant sauce (for pancakes, ice cream, etc). We've frozen sour pie cherries, sliced strawberries and strawberry puree (for smoothies).
It concerns me that home canning has a reputation of being difficult and arduous. The whole process is rather simple. The main concept is to pour piping hot food into boiling hot jars, tighten the lids and simmer them for a few minutes. As they cool, the lid seals with a pop. That's it. The equipment is affordable and readily available---a few canning jars and lids, a large soup pot for cooking the food, one large canning pot for boiling the jars. A few tools are helpful, like a canning funnel, a jar lifter, a ladle. Keep it simple.
Let's take today as an example. I picked black currants this morning, separated them from their tiny vines and stems, and washed them. (Then I took a break.) After that I placed clean jelly jars inside the canning pot, filled it with water and started it on my high capacity burner. The currants went into the soup pot along with some sugar, while the new canning lids went into a sauce pan with water to simmer. My goal was to have the currants cooked down at about the same time the jars came to a boil. I lifted each jar out of the boiling water bath one at a time, filled with jam using the funnel and ladle, wiped the rim clean of any drips, added the lid and the canning jar ring, and lowered it back into the boiling water bath. When all the jam was in the jars, I cranked the heat back up to high and boiled for ten minutes. Then I turned off the heat, raised the lid and waited five more minutes. I lifted the jars out of the water bath onto a towel and listened to the lids pop as they sealed.
The process may seem complicated at first, but soon it becomes easy. I can make a batch of jam in a hour. It's the picking and cleaning the fruit that takes a long time. Visit www.freshpreserving.com for more details, or check out a canning book from the library. Try to avoid the high drama of 1950s home economics tutorials. This isn't rocket science. Just follow any recipe for guidance as to how much sugar to add, and whether or not you'll need lemon juice for acidity or pectin for thickening. The instruction sheet inside a box of powdered pectin is probably sufficient to get anyone making jam.
Freezing is even more simple than canning. Place clean fruit (such as cherries, raspberries, blueberries) in a single layer on a cookie sheet and pop it in the freezer. After a few hours, transfer the fruit to freezer bags or containers. Sliced strawberries and peaches can be placed directly into the freezer container. Make sure containers are tightly shut to avoid freezer burn. It is possible to use glass canning jars in the freezer (rather than plastic), but be sure to leave an extra inch of expansion space at the top of the jar.
Now, get out there and enjoy the fruit of the season!
What do we do with all the harvest? Our free-standing freezer is modest in size, so we follow the advice of our friend Lynn who says, "Can what you can and freeze what you can't." So far we have canned strawberry jam, apricot jam, rhubarb-currant jam, and currant sauce (for pancakes, ice cream, etc). We've frozen sour pie cherries, sliced strawberries and strawberry puree (for smoothies).
It concerns me that home canning has a reputation of being difficult and arduous. The whole process is rather simple. The main concept is to pour piping hot food into boiling hot jars, tighten the lids and simmer them for a few minutes. As they cool, the lid seals with a pop. That's it. The equipment is affordable and readily available---a few canning jars and lids, a large soup pot for cooking the food, one large canning pot for boiling the jars. A few tools are helpful, like a canning funnel, a jar lifter, a ladle. Keep it simple.
Let's take today as an example. I picked black currants this morning, separated them from their tiny vines and stems, and washed them. (Then I took a break.) After that I placed clean jelly jars inside the canning pot, filled it with water and started it on my high capacity burner. The currants went into the soup pot along with some sugar, while the new canning lids went into a sauce pan with water to simmer. My goal was to have the currants cooked down at about the same time the jars came to a boil. I lifted each jar out of the boiling water bath one at a time, filled with jam using the funnel and ladle, wiped the rim clean of any drips, added the lid and the canning jar ring, and lowered it back into the boiling water bath. When all the jam was in the jars, I cranked the heat back up to high and boiled for ten minutes. Then I turned off the heat, raised the lid and waited five more minutes. I lifted the jars out of the water bath onto a towel and listened to the lids pop as they sealed.
The process may seem complicated at first, but soon it becomes easy. I can make a batch of jam in a hour. It's the picking and cleaning the fruit that takes a long time. Visit www.freshpreserving.com for more details, or check out a canning book from the library. Try to avoid the high drama of 1950s home economics tutorials. This isn't rocket science. Just follow any recipe for guidance as to how much sugar to add, and whether or not you'll need lemon juice for acidity or pectin for thickening. The instruction sheet inside a box of powdered pectin is probably sufficient to get anyone making jam.
Freezing is even more simple than canning. Place clean fruit (such as cherries, raspberries, blueberries) in a single layer on a cookie sheet and pop it in the freezer. After a few hours, transfer the fruit to freezer bags or containers. Sliced strawberries and peaches can be placed directly into the freezer container. Make sure containers are tightly shut to avoid freezer burn. It is possible to use glass canning jars in the freezer (rather than plastic), but be sure to leave an extra inch of expansion space at the top of the jar.
Now, get out there and enjoy the fruit of the season!
Tuesday, June 25, 2013
Thinning the Peach Crop
Last year our mature peach tree produced a minimal crop due to unfavorable weather conditions. Summer arrived in March forcing a premature bloom. Winter returned in April and froze many of the blossoms. The rest of the summer was plagued with drought. We were pleased that our fruit trees survived such a tumultuous growing season.
This year is quite the opposite. The temperatures have been seasonally appropriate and our fruit trees bloomed beautifully in April. Pollination must have been adequate because the peach tree is loaded with an abundance of walnut-sized fruits. There are so many little peaches forming on the tree that we expect branches will break under the weight of the fruit or the whole tree will simply keel over.
Experts advise thinning the crop. Heavy fruit like peaches should grow no closer than every four inches, about the width of an adult hand. Thin branches can't hold more than one peach. At harvest time, it will be far more satisfying to bring in a bushel of 100 large peaches rather than a bushel of 500 tiny peaches. It's important to be realistic about how much fruit one tree can produce.
So we thinned the crop. Using our awesome orchard ladder, we removed hundreds of tiny green peaches. It seems like a shame, but in another month or so I think we'll be glad we did it.
This year is quite the opposite. The temperatures have been seasonally appropriate and our fruit trees bloomed beautifully in April. Pollination must have been adequate because the peach tree is loaded with an abundance of walnut-sized fruits. There are so many little peaches forming on the tree that we expect branches will break under the weight of the fruit or the whole tree will simply keel over.
Experts advise thinning the crop. Heavy fruit like peaches should grow no closer than every four inches, about the width of an adult hand. Thin branches can't hold more than one peach. At harvest time, it will be far more satisfying to bring in a bushel of 100 large peaches rather than a bushel of 500 tiny peaches. It's important to be realistic about how much fruit one tree can produce.
So we thinned the crop. Using our awesome orchard ladder, we removed hundreds of tiny green peaches. It seems like a shame, but in another month or so I think we'll be glad we did it.
Monday, June 24, 2013
Orchard Ladder
This spring we invested in an orchard ladder. It was a safety measure---too often I have watched my husband teetering a the top of an eight foot step ladder with bricks or 2x4 lumber tucked precariously beneath one or two ladder legs in an effort to balance the thing. These were situations in which I would dial 9-1- and wait for disaster. Fortunately it never occurred, but when we discovered orchard ladders, this purchase quickly became a priority.
An orchard ladder is a tripod. The ladder side is wide at the bottom and narrows gradually to the top. The third leg hinges widely---perfect for working on a slope or hillside, and ideal for getting right into the middle of fruit trees without causing branch or fruit damage. (This week we're picking sour pie cherries and thinning peaches.) The ladder is also useful for managing our 12 foot tall hops towers. Working at the top of this ladder feels stable and safe.
Purchasing an orchard ladder takes a little determination. They are not readily available at hardware stores or farm retailers. Our new 12 foot aluminum orchard ladder is made by Tallman. The local Tallman distributor operates a cherry orchard about 30 miles away and sells a few extra ladders out of his barn.
As our fruit trees continue to grow, we look forward to many years with our orchard ladder.
Saturday, June 22, 2013
Chick Update
The spring chicks at Red Bucket Farm are growing quickly. They hatched April 8 and arrived here on the farm April 10. Their earliest weeks were spent entirely beneath the heat lamp in the brooder box. By the end of April, the chicks spent their daytime hours outside in the day pen.
You can see in the photos that the chicks are don't look much like babies anymore. They have fuller bodies and complete tail feathers. Their combs are starting to become more obvious but their voices are still little peeps. Vocal sounds, combs and wattles are the last obvious things to fully mature before they begin laying eggs, around four to six months of age.
Earlier this month the chicks moved into the main chicken yard during the daytime. They are separated from the biddies by a wire fence, which allows them time to grow accustomed to each other. In another month, the chicks should arrive at their adult size and we'll blend the two flocks into one. Meanwhile, the little ones still spend night time in the brooder box in the garage to keep them safe from predators. It's a bit of a circus to transfer them each morning and evening, but that's part of the fun.
Monday, June 17, 2013
Irregular Eggs
I went out to gather eggs this noon and look what I found! The green egg is from Crocus the Easter Egger; the tan egg is from Squill the Speckled Sussex; and the large brown egg is from Thelma the Delaware-Buckeye hybrid. But who in the world laid the tiny egg? It's about the size of a walnut. I might think it came from a bantam hen, except that I don't have bantams. The dark brown shell is the same as Thelma's eggs. Can she have laid an egg-and-a-half today? Is that even possible? She's been working hard lately, clearly making up for my older hens who lay only twice a week. Strange....
Thursday, June 13, 2013
Greenhouse Transition
Our little greenhouse is a hard-working element at Red Bucket Farm. In March we began raising seedlings inside the greenhouse. We started with hardy herbs (rosemary, chives, lavender) and cool season veggies like peas, carrots, beets, and Brussels sprouts. In mid-April we added warm-weather veggies including tomatoes, peppers, eggplant, and basil. The shelving units were loaded with containers and flats of seedling pots. We used a water thermal inside to moderate cold night temperatures as well as a fan to keep the air circulating.
This week we transitioned the greenhouse from spring nursery to summer growth. I removed the water thermal and three of the four shelving units. We hung shade cloth over the southern exposure to limit the sunshine, which gets overpowering in the summer. One shelving unit remains for ongoing seedling projects.
Labels:
eggplant,
greenhouse,
herbs,
peppers,
seeds,
shadecloth,
tomatoes
Subscribe to:
Posts (Atom)