Welcome

Red Bucket Farm is an urban farm on a quarter acre property in an average residential neighborhood. We are located in Wisconsin, USDA Zone 5. We focus on chickens, bees, orchard fruit, and raised garden beds for fruits and veggies. We hope to reduce our footprint on the planet by growing some of our food, reducing our use of fossil fuels, and gardening with sustainable practices. Thanks for visiting!

Monday, August 19, 2013

Enormous Tomatoes


The Amish Paste tomatoes are outdoing themselves this year. In the photo above, the tennis ball is shown for size comparison. These tomatoes are the size of softballs and weigh between 8 and 14 ounces. If I knew the secret to growing huge tomatoes I would share it, but I have no idea what's gotten into these plants.

We have only ten tomato plants---six Amish Paste, two Sungold Hybrid cherry tomatoes, and two Jaune Flamme (a medium-sized heirloom). We find that ten plants gives us the pleasure to eat warm fruit from the vine and still have plenty to preserve for winter use. I haven't purchased commercial tomato products in the last year or two.

This year all the tomato plants are producing very well, but the Amish paste plants are falling over from the weight of the fruit in spite of rigorous staking. I pick the fruit slightly green and give them a day or two on the drying table to fully ripen in the sunshine. Meanwhile, I'd better get ready to roast, can and freeze. This enthusiastic harvest is a good problem!

Sunday, August 18, 2013

Drying & Storing Onions


We harvested our Copra onions a week or so ago. This type of onion was hybridized to store well over the course of the winter, often for several months. Conventional gardening wisdom recommends leaving the onions on the surface of the soil to dry, but at Red Bucket Farm it never fails to rain immediately after harvesting. We didn't think that it was smart to cure the onions on a damp garden bed, so we built a drying table. It's a simple wood frame built of 2x4 lumber with 1/4 inch hardware cloth as the floor of the table. This is useful for drying onions, potatoes, squash and hops. When the weather threatens to rain, we hoop the table with old fencing and cover it with a tarp. 


After a week of drying in the sun (and sometimes hiding from rain), we cut off the dried green tops of the onions and store them in boxes in our pantry refrigerator. Growing conditions must have been favorable this year, because we yielded a full fifty pounds of onions. Sometimes gardening can be very frustrating, but I'll admit to feeling pretty satisfied with this harvest. 

Saturday, August 17, 2013

Hops Harvest


Harvesting hops is my favorite garden "chore." We sit on the patio drinking iced coffee and listening to good music while picking hops off the bine. It's relaxing and smells fabulous!


We grow three kinds of hops here at Red Bucket Farm---Cascade, Willamette and Nugget. Hops bines (not vines) twist around a taut twine on our 12' tall hops towers. This morning our resident brewer climbed the orchard ladder and cut down the twines and bines.


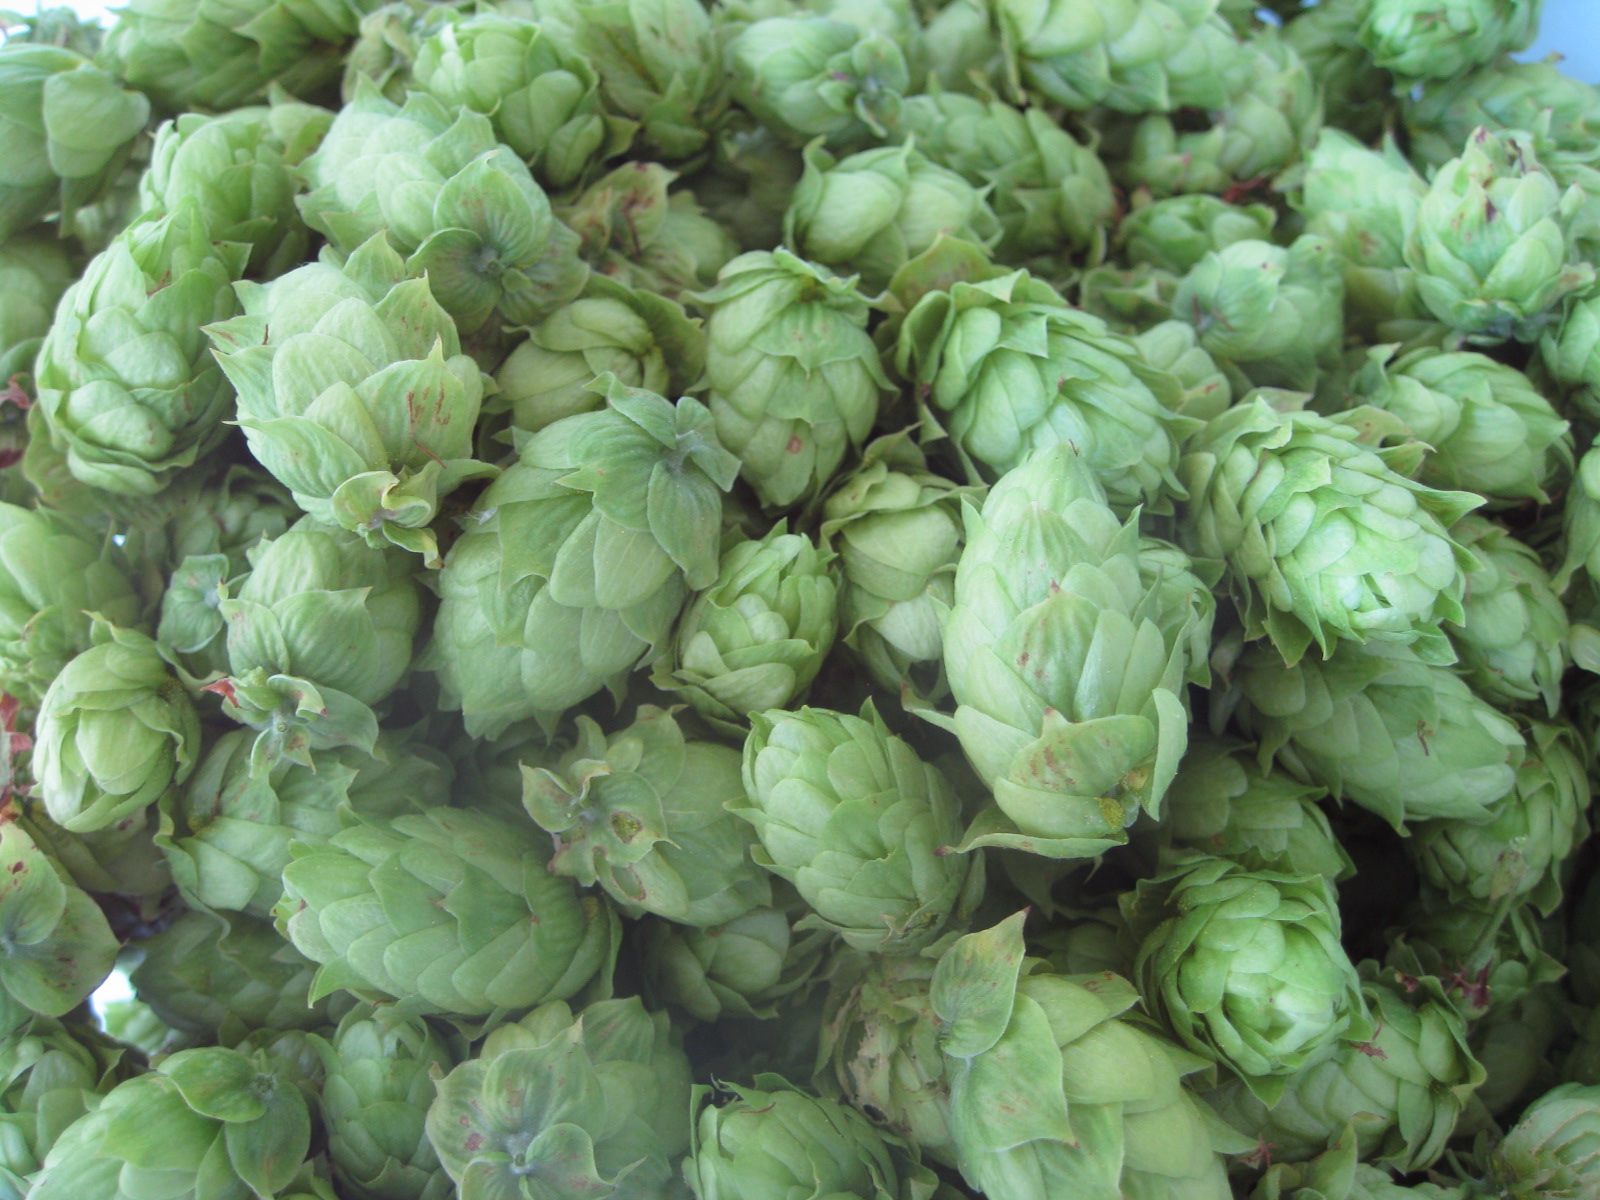
We harvested 12 ounces of Cascade hops and 2 ounces of Willamette. (The Nugget hops aren't quite ready for harvesting.) Although it doesn't seem like very much, the Cascade hops filled one bucket to the brim. It's more than enough for a batch of pale ale, which is in the works as I write this. We'll store a few ounces of the Cascade hops in the fridge for a week to serve as the "finishing" hops for the India pale ale. Any remaining hops will be dried and frozen for future use.


Sunday, August 4, 2013

Ruby's First Eggs


Ruby has just begun laying her first eggs! She is a hybrid known sometimes as Red Star, Comet, or Golden Buff. The females are veritable egg machines, laying well in hot and cold weather. Our former Red Star was Rosie, who laid more than 600 eggs. That's quite an act to follow, but Ruby has begun laying at 16 weeks of age, precisely the same age that Rosie was when she began laying. So far, Ruby's eggs are undersized---slightly smaller than a golf ball---but we expect they will soon be larger.


It's comical to watch the spring chicks arrive at maturity. Last week the young pullets were all in the hen house watching one of the older hens lay an egg in the nest box. They were quiet and respectful. I wondered if there was some kind of tutorial experience happening in there.


Ruby's eggs are a welcome addition to the kitchen. We harvested our older hens a few weeks ago and egg production has been down. The other spring chicks will begin laying in the next few weeks.

Thursday, July 25, 2013

Underplanting the Orchard


In his book The Holistic Orchard, fruit tree expert Michael Phillips offers recommendations for the overall health and productivity of fruit trees. Based on his concepts, we spent several hours over the weekend underplanting our home orchard. We removed the grass beneath each tree and added hardwood mulch to allow more nutrients and water to reach the roots of the trees. 

Phillips recommends planting a "living mulch," an understory of widely diversified plants, some that attract beneficial insects, others than repel destructive insects. We have plenty to learn in this area, but diversity seems to be the operative concept. 


Comfrey (above), known for its medicinal qualities, has a long tap root that pulls up nutrients from deep below ground and distributes them to tree roots. We planted oregano and lemon balm for their bee-friendly qualities. Chives are reported to help with peach leaf curl, so we planted that beneath the peach trees. Bitter herbs are thought to repel fruit pests, so we'll work on that next spring. 

Of all the crazy projects we've done around here, this one has garnered most comments from the neighbors because in addition to having function, underplanting is also quite attractive. 

Tuesday, July 23, 2013

Onion Harvest


In April I planted two different varieties of onion: Copra hybrid for long term storage through the winter, and Candy hybrid for sweet eating. The onions have grown well this year, presumably due to so much rain in June and plenty of heat in July.


Last week the Candy hybrid onions began flopping their leaves dramatically, indicating they are mature and ready to harvest. This week they became uniformly droopy, although it seems rather early in the summer to harvest. Nevertheless, I decided to get them out of the ground this week so they won't rot in the ground next week while I am away from the farm.


The Candy hybrid onions are now drying and curing on open shelves inside the greenhouse. After curing, they'll store in a cool place for several weeks. The Copra hybrid, which is most of my crop, is still in the ground. I'll harvest the Copras in a couple of weeks, and then replant that raised bed with spinach, arugula and Swiss chard.

Monday, July 8, 2013

Canning vs. Freezing

It rained a record-setting eleven inches in the month of June at Red Bucket Farm, which seems to have pleased our fruit bearing plants, bushes and trees. In the last few weeks, we've harvested many pounds of strawberries, rhubarb, currants and cherries. The raspberries, blueberries and tomatoes are just beginning to ripen, which will be followed by peaches and more vegetables.

What do we do with all the harvest? Our free-standing freezer is modest in size, so we follow the advice of our friend Lynn who says, "Can what you can and freeze what you can't." So far we have canned strawberry jam, apricot jam, rhubarb-currant jam, and currant sauce (for pancakes, ice cream, etc).  We've frozen sour pie cherries, sliced strawberries and strawberry puree (for smoothies).

It concerns me that home canning has a reputation of being difficult and arduous. The whole process is rather simple. The main concept is to pour piping hot food into boiling hot jars, tighten the lids and simmer them for a few minutes. As they cool, the lid seals with a pop. That's it. The equipment is affordable and readily available---a few canning jars and lids, a large soup pot for cooking the food, one large canning pot for boiling the jars. A few tools are helpful, like a canning funnel, a jar lifter, a ladle. Keep it simple.


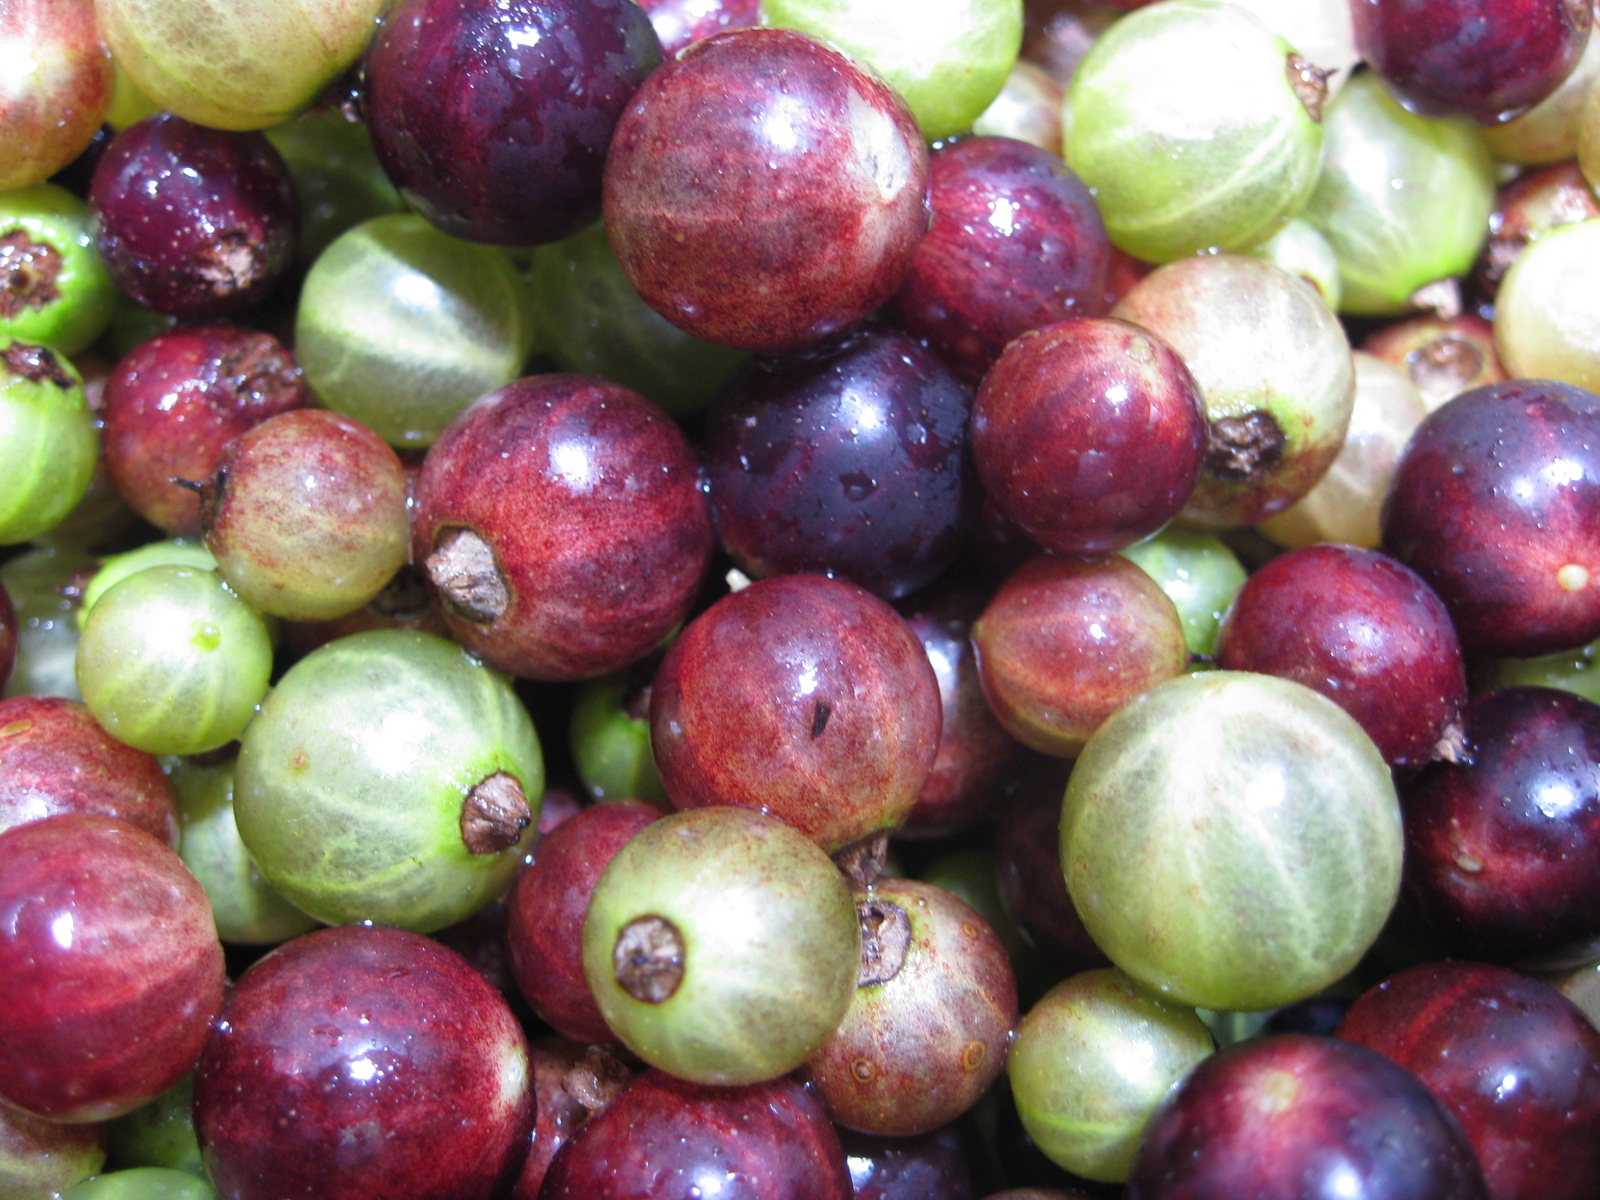
Let's take today as an example. I picked black currants this morning, separated them from their tiny vines and stems, and washed them. (Then I took a break.) After that I placed clean jelly jars inside the canning pot, filled it with water and started it on my high capacity burner. The currants went into the soup pot along with some sugar, while the new canning lids went into a sauce pan with water to simmer. My goal was to have the currants cooked down at about the same time the jars came to a boil. I lifted each jar out of the boiling water bath one at a time, filled with jam using the funnel and ladle, wiped the rim clean of any drips, added the lid and the canning jar ring, and lowered it back into the boiling water bath. When all the jam was in the jars, I cranked the heat back up to high and boiled for ten minutes. Then I turned off the heat, raised the lid and waited five more minutes. I lifted the jars out of the water bath onto a towel and listened to the lids pop as they sealed.

The process may seem complicated at first, but soon it becomes easy. I can make a batch of jam in a hour. It's the picking and cleaning the fruit that takes a long time. Visit www.freshpreserving.com for more details, or check out a canning book from the library. Try to avoid the high drama of 1950s home economics tutorials. This isn't rocket science. Just follow any recipe for guidance as to how much sugar to add, and whether or not you'll need lemon juice for acidity or pectin for thickening. The instruction sheet inside a box of powdered pectin is probably sufficient to get anyone making jam.

Freezing is even more simple than canning. Place clean fruit (such as cherries, raspberries, blueberries) in a single layer on a cookie sheet and pop it in the freezer. After a few hours, transfer the fruit to freezer bags or containers. Sliced strawberries and peaches can be placed directly into the freezer container. Make sure containers are tightly shut to avoid freezer burn. It is possible to use glass canning jars in the freezer (rather than plastic), but be sure to leave an extra inch of expansion space at the top of the jar.

Now, get out there and enjoy the fruit of the season!