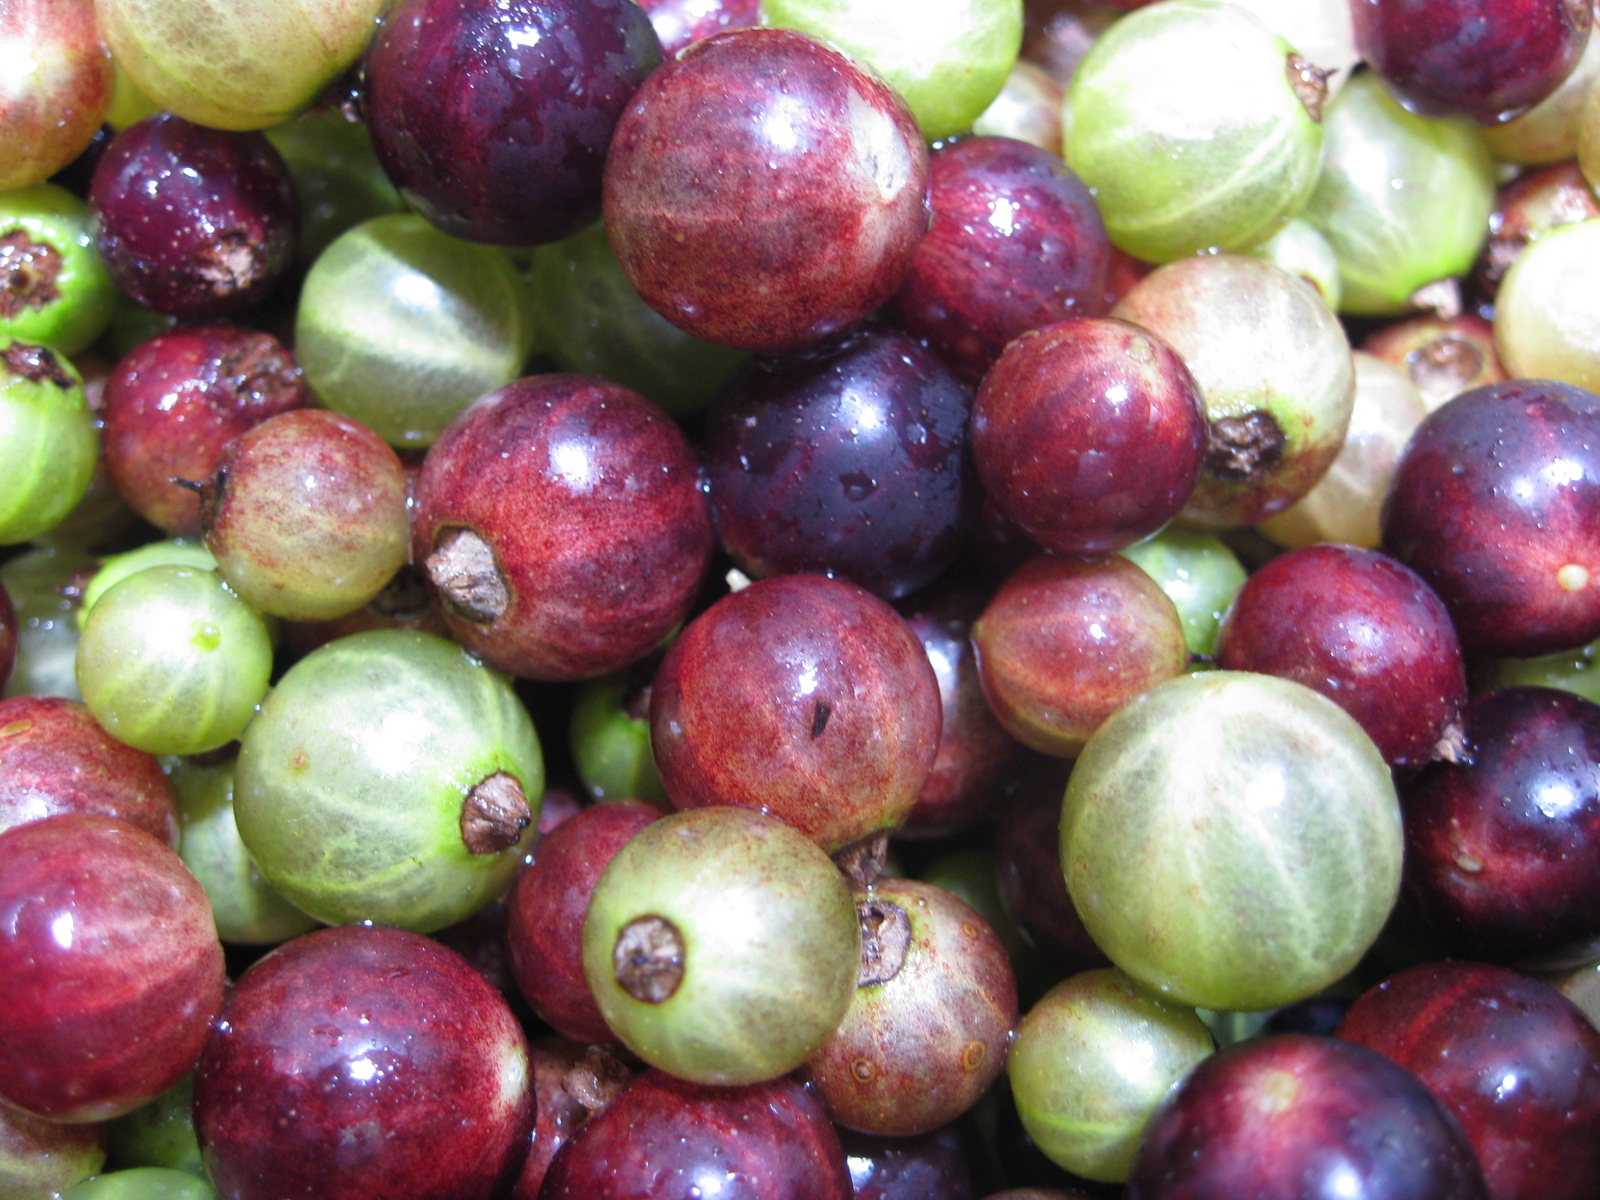
It rained a record-setting eleven inches in the month of June at Red Bucket Farm, which seems to have pleased our fruit bearing plants, bushes and trees. In the last few weeks, we've harvested many pounds of strawberries, rhubarb, currants and cherries. The raspberries, blueberries and tomatoes are just beginning to ripen, which will be followed by peaches and more vegetables.
What do we do with all the harvest? Our free-standing freezer is modest in size, so we follow the advice of our friend Lynn who says, "Can what you can and freeze what you can't." So far we have canned strawberry jam, apricot jam, rhubarb-currant jam, and currant sauce (for pancakes, ice cream, etc). We've frozen sour pie cherries, sliced strawberries and strawberry puree (for smoothies).
It concerns me that home canning has a reputation of being difficult and arduous. The whole process is rather simple. The main concept is to pour piping hot food into boiling hot jars, tighten the lids and simmer them for a few minutes. As they cool, the lid seals with a pop. That's it. The equipment is affordable and readily available---a few canning jars and lids, a large soup pot for cooking the food, one large canning pot for boiling the jars. A few tools are helpful, like a canning funnel, a jar lifter, a ladle. Keep it simple.

Let's take today as an example. I picked black currants this morning, separated them from their tiny vines and stems, and washed them. (Then I took a break.) After that I placed clean jelly jars inside the canning pot, filled it with water and started it on my high capacity burner. The currants went into the soup pot along with some sugar, while the new canning lids went into a sauce pan with water to simmer. My goal was to have the currants cooked down at about the same time the jars came to a boil. I lifted each jar out of the boiling water bath one at a time, filled with jam using the funnel and ladle, wiped the rim clean of any drips, added the lid and the canning jar ring, and lowered it back into the boiling water bath. When all the jam was in the jars, I cranked the heat back up to high and boiled for ten minutes. Then I turned off the heat, raised the lid and waited five more minutes. I lifted the jars out of the water bath onto a towel and listened to the lids pop as they sealed.
The process may seem complicated at first, but soon it becomes easy. I can make a batch of jam in a hour. It's the picking and cleaning the fruit that takes a long time. Visit
www.freshpreserving.com for more details, or check out a canning book from the library. Try to avoid the high drama of 1950s home economics tutorials. This isn't rocket science. Just follow any recipe for guidance as to how much sugar to add, and whether or not you'll need lemon juice for acidity or pectin for thickening. The instruction sheet inside a box of powdered pectin is probably sufficient to get anyone making jam.
Freezing is even more simple than canning. Place clean fruit (such as cherries, raspberries, blueberries) in a single layer on a cookie sheet and pop it in the freezer. After a few hours, transfer the fruit to freezer bags or containers. Sliced strawberries and peaches can be placed directly into the freezer container. Make sure containers are tightly shut to avoid freezer burn. It is possible to use glass canning jars in the freezer (rather than plastic), but be sure to leave an extra inch of expansion space at the top of the jar.
Now, get out there and enjoy the fruit of the season!