Welcome
Red Bucket Farm is an urban farm on a quarter acre property in an average residential neighborhood. We are located in Wisconsin, USDA Zone 5. We focus on chickens, bees, orchard fruit, and raised garden beds for fruits and veggies. We hope to reduce our footprint on the planet by growing some of our food, reducing our use of fossil fuels, and gardening with sustainable practices. Thanks for visiting!
Thursday, April 12, 2012
Moving the Greenhouse
On Saturday we moved the greenhouse to a sunnier location. The aluminum frame greenhouse with polycarbonate panels isn't very heavy, so carrying it intact wasn't as difficult as anticipated. After removing the plastic shelving units and all the plants and seedlings, we unscrewed the greenhouse from its 4x4 wooden base and attached it to 2x4s for carrying up the hill. Next we carried up the wooden base itself and set it on the lawn.
Preparing the new site was most time consuming and labor intensive. We leveled a site with concrete blocks. In the photo above, you can see the kids in the background bringing up the blocks from the old site.
Once the bricks were in place, we transferred the gravel flooring from the old site to the new, using a wheelbarrow and old fashioned elbow grease.
Finally, we placed the 4x4 wood foundation on the bricks and reattached the greenhouse. I was surprised how quickly this project transpired---just a morning's work, less time than assembling the greenhouse when we first built it.
The new location is significantly more sunny than before, and will help extend the growing season in spring and fall. Also, it's closer to the house and more convenient for retrieving fresh herbs when I'm making dinner. We're happy with this improvement to our urban farm.
Tuesday, April 10, 2012
Milky Anti-freeze
Record setting warm weather in March produced a very early blossom period for fruit trees and bushes here at Red Bucket Farm. We knew it was too good to be true. This week's sub-freezing temperatures have Wisconsin fruit growers in a panic.
I inquired on the yahoogroups organic fruit tree growers list whether there were any practical, organic measures I could take to protect my backyard orchard trees from overnight freeze. There was plenty of expert advice from the folks on that list. I learned that cellular integrity starts with calcium. Getting minerals and carbohydrates into the cells will lower the freezing point inside the cells and provide some frost protection.
Last night and tonight I sprayed my fruit trees and bushes with a mixture of water, milk (for calcium and phosphates), molasses (for carbohydrates) and fish emulsion (for minerals and oils).
Early this morning our thermometer indicated 31 degrees, and the water in the chicken coop was not frozen. We may have avoided serious damage last night as the breezes kept the air moving. After a windy and cold day today, the wind has calmed down tonight and the forecast is for slightly colder temps than last night. We are worried that tonight will be more difficult for the blossoms and tiny fruit.
Sometimes it's strangely stressful to be an urban farmer. My livelihood certainly does not depend on my fruit crop; I was simply looking forward to my homegrown fruits. Whether the fruit survives or not, it's gratifying to live a little closer to the elements, to be aware of every degree of temperature and the changing breezes.
Tuesday, April 3, 2012
Fruit Blossoms
The unusually warm spring weather in March has brought early April blossoms to Wisconsin. All eight blueberry bushes at Red Bucket Farm have fruit blossoms as seen above. It's taken a few seasons to establish these bushes, and we're pretty happy to see them blooming enthusiastically.
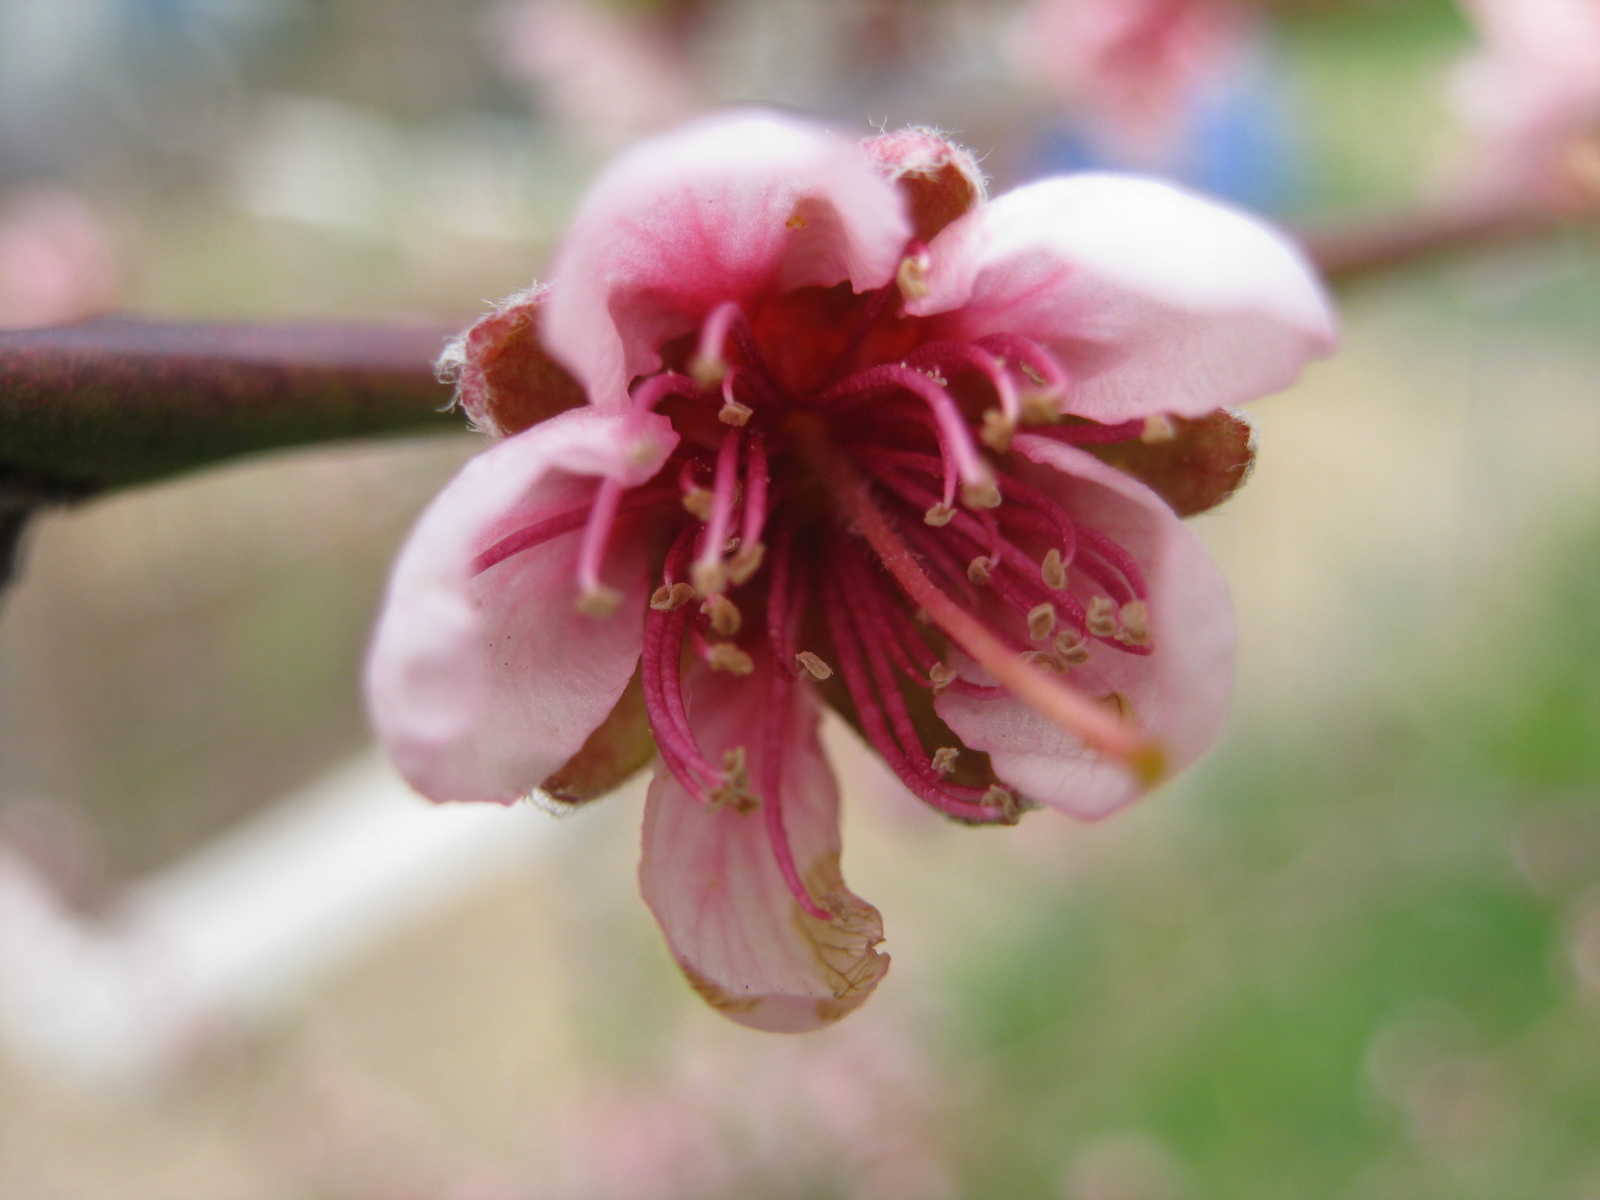
Our three-year old peach tree is full of pink blooms and the bees are busy pollinating them. This year we'll remember to thin the fruits for increased harvest. The younger peach tree and apricot trees have finished blooming.
We have three varieties of sour pie cherry trees--Meteor, North Star, Montmorency. They tend to bloom and ripen at slightly different times.
All eight currant bushes are blooming, seen above. The bushes are heavily loaded this year and we're hoping for an overflow crop. We're looking forward to a large batch of currant jam.
Finally, the ubiquitous dandelions have begun to bloom. Most folks see them as weeds, but to me they are bee food.
Enjoy the spring blossoms!
Wednesday, March 28, 2012
Crush and Strain Honey
When we pulled on our bee suits Sunday afternoon, we didn't have any intention of harvesting honey. We had noticed through the hive observation windows that one hive seemed significantly stronger than the other, so we thought we would transfer one top bar of honey comb and perhaps one top bar of brood comb from the strong hive to the weaker hive. This would help build up the weaker hive and moderate the stronger hive so it would be less tempted to swarm (permanently leave).
First we opened the weaker hive. We used our hive tool to gently release the top bars which are stuck in place with propolis, a fantastic glue that the bees make to secure their homes. Then we carefully removed top bars one at a time and inspected the combs and bees. We found yellow and orange pollen, plenty of honey, a moderate number of bees, and we even found the queen. Although we didn't see any brood (eggs or larvae), we decided to leave this hive alone and not harass them. We assume the brood comb is situated closer to the entrance where we did not remove the top bars. It was reassuring enough to find the queen.
The second hive was full of honey comb, so much that we decided it was time to take some for ourselves. We simply broke the dripping honey comb into a bowl, trying desperately to brush off bees before they got crushed in the process. (Note to self: buy a bee brush and another hive tool.) We took comb from three top bars and then quickly shut the hive because the bees were getting agitated. There is plenty of honey remaining for the bees.
We used an old fashioned enamel colander and potato masher to begin crushing the honey comb. We bottled eight cups of honey in canning jars, then transferred the crushed comb into another strainer to gain two more cups of honey.
The next day we noticed that the small bits of suspended comb had risen to the top of the jars where it could easily be spooned off and strained again for that last tablespoon or two of golden deliciousness.
Perhaps someday I'll learn to wash the comb wax and use it for candles, but today I'm very grateful for the work of the bees and the wonderful harvest they share. It's been only eleven months since we started keeping bees and we're thrilled with the results. We still have much to learn, but the bees will teach us.
First we opened the weaker hive. We used our hive tool to gently release the top bars which are stuck in place with propolis, a fantastic glue that the bees make to secure their homes. Then we carefully removed top bars one at a time and inspected the combs and bees. We found yellow and orange pollen, plenty of honey, a moderate number of bees, and we even found the queen. Although we didn't see any brood (eggs or larvae), we decided to leave this hive alone and not harass them. We assume the brood comb is situated closer to the entrance where we did not remove the top bars. It was reassuring enough to find the queen.
The second hive was full of honey comb, so much that we decided it was time to take some for ourselves. We simply broke the dripping honey comb into a bowl, trying desperately to brush off bees before they got crushed in the process. (Note to self: buy a bee brush and another hive tool.) We took comb from three top bars and then quickly shut the hive because the bees were getting agitated. There is plenty of honey remaining for the bees.
We used an old fashioned enamel colander and potato masher to begin crushing the honey comb. We bottled eight cups of honey in canning jars, then transferred the crushed comb into another strainer to gain two more cups of honey.
The next day we noticed that the small bits of suspended comb had risen to the top of the jars where it could easily be spooned off and strained again for that last tablespoon or two of golden deliciousness.
Perhaps someday I'll learn to wash the comb wax and use it for candles, but today I'm very grateful for the work of the bees and the wonderful harvest they share. It's been only eleven months since we started keeping bees and we're thrilled with the results. We still have much to learn, but the bees will teach us.
Friday, March 23, 2012
Nifty Carrot Trick
When I mentioned to friends that I had started carrots by seed indoors, they laughed out loud. Why would anybody start carrots indoors? How absurd!
In her book The Zero-Mile Diet, organic gardener Carolyn Herriot describes something she calls her "Nifty Carrot Trick." She recommends starting carrots indoors in four-inch pots. When the sprouts reach four inches tall and the weather allows, she moves them outside to garden beds. Later, these carrots can be harvested in bunches rather than single rows.
I thought this technique was worth a try. After all, when I've sowed carrot and beet seeds outdoors in previous seasons, the critters manage to nibble off the tops just as they sprout. So in early February, I located old bonsai pots about four inches tall. I planted two pots with carrot seeds, another with beets, and a fourth with onion seeds. All sprouted nicely indoors. A couple weeks ago I moved the pots to the greenhouse, and then transplanted them in blocks to a raised garden bed. I'm pleased to have carrots and beets in the ground -- and it's only mid-March! It feels good to get an early start on the crops.
By the way, Carolyn Herriot lives and gardens in Victoria, British Columbia. Although some of her information is specific to the Pacific northwest, I enjoy this book enough that I purchased it for my own library. I especially appreciate her simple organic techniques. Check this book out at your library and see for yourself.
Thursday, March 15, 2012
Egg Production
Egg production is up at Red Bucket Farm--way up, in fact. Chickens vary seasonally in egg production. Much of it is based on hours of daylight. In fact, many chicken wranglers provide artificial lighting in the hen house during the darker winter months to encourage their girls to lay more eggs. We prefer to go with whatever natural light Mother Nature provides. The girls deserve a little break in the winter.
Another factor in reduced winter egg production is the natural inclination to molt. Mature hens will generally lose feathers in the late fall and early winter. They grow new feathers in preparation for the deep winter freeze, but it takes so much energy to molt that a hen may stop laying eggs for several weeks. Some chicken breeds molt more significantly than others.
During the course of the winter, our small flock produced a steady supply of about 20 eggs per week. Half of our girls molted and stopped laying eggs entirely. We had enough for our family, including holiday baking, but we didn't have much surplus.
In mid-February, our weekly egg count jumped from 20 eggs per week to 30 eggs, and then immediately up to 42 or 43 eggs per week. All the girls are back in production again and they seem happy. Our unseasonably warm spring weather has brought 80-degree daytime temperatures, which is causing me to worry that production may decrease because of the heat.
Meanwhile, the girls have regrown their flight feathers after the molt, which means that a couple of them have decided to repeatedly jump the fence. After chasing them around and returning them to the safety of the chicken yard several times, I finally marched out there with my kitchen shears and gave two of the mischief makers a little trim. So there.
Wednesday, March 14, 2012
Spring Hive Cleaning
Look very closely at this photo. Can you see what it is? On the ground immediately below the entrances of the bee hives are hundreds of dead bees laying in the leaf litter and mulch.
The caretaker bees are cleaning out the hives. It's amazing to watch them haul out the dead bodies. There are so many dead bees on the ground outside the hives that I might be worried, except that there are also hundreds of active bees. They keep the inside of the hive remarkably clean without any human intervention.
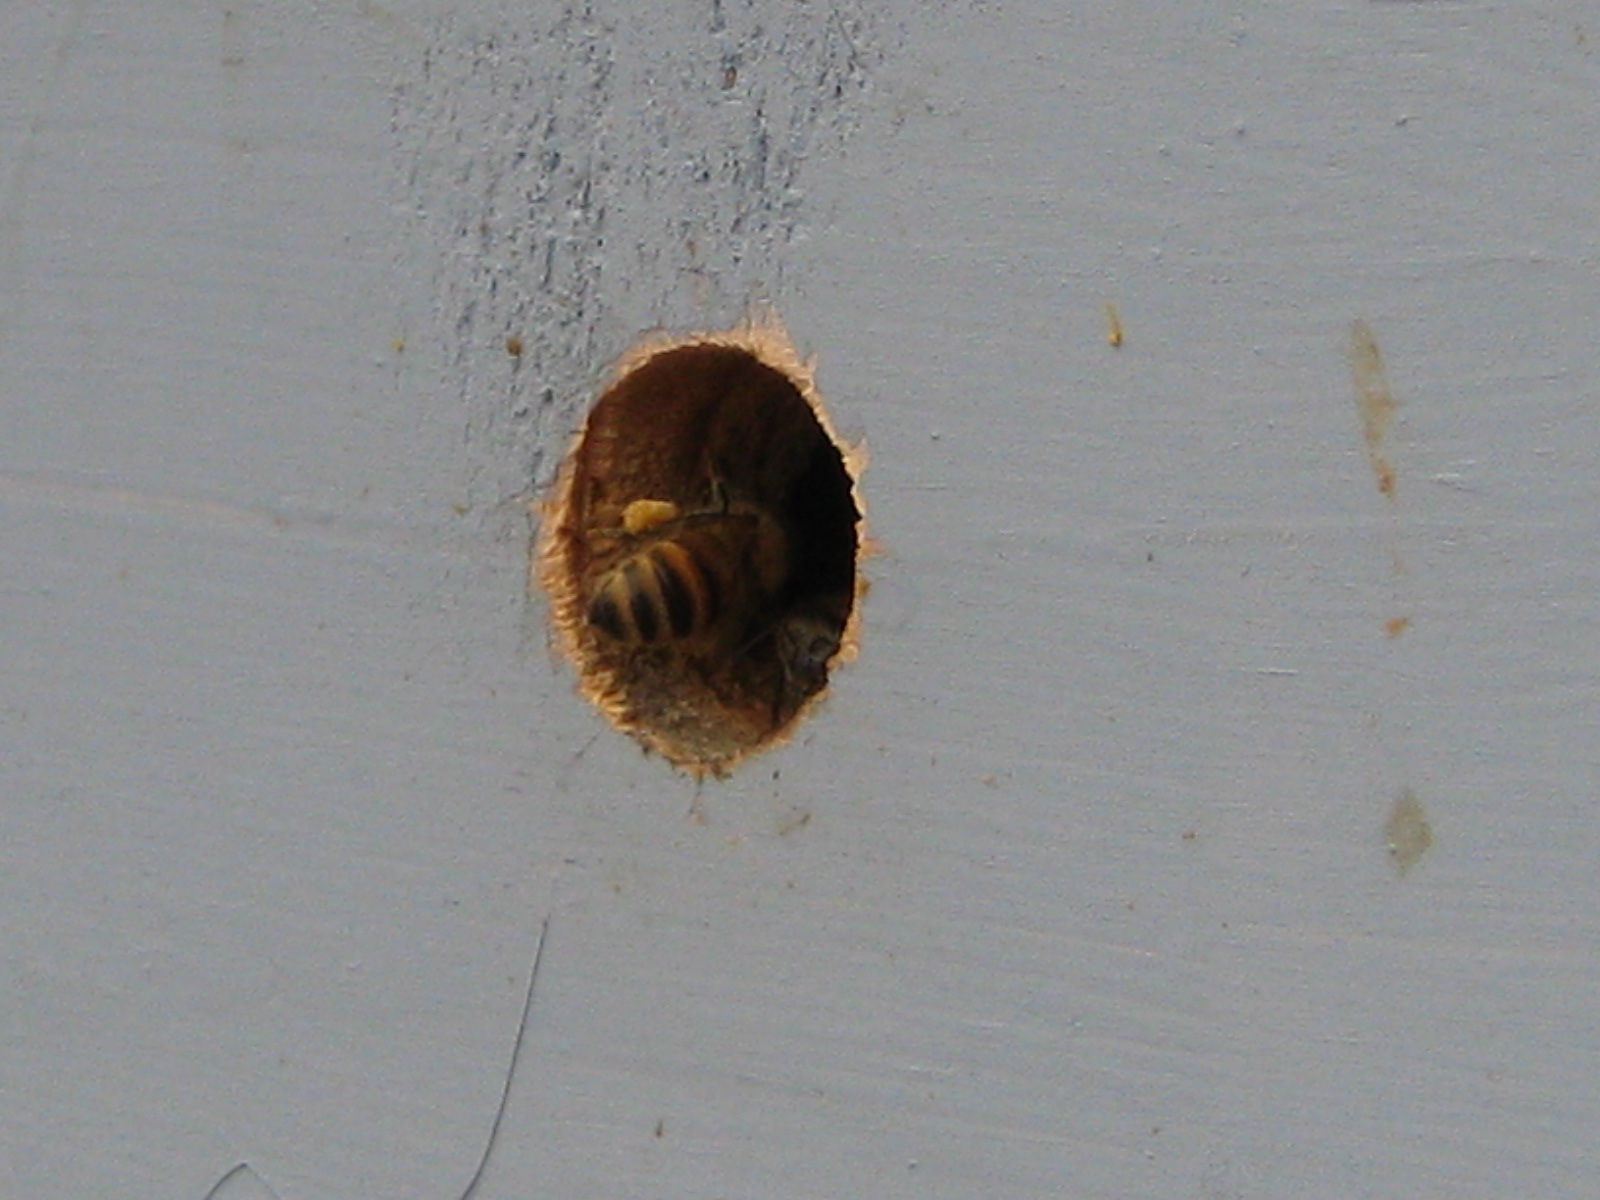
Our prematurely warm spring is giving the bees an early start. I have removed the winter insulation wraps from the hives. The bees are actively gathering pale yellow pollen which you can see in the pollen sac on her back leg in the photo above.
We're thrilled that both hives survived the winter, although we mostly credit the success to a mild winter. One of the hives is small but feisty and the other hive is rather large. Happy spring cleaning!
Subscribe to:
Posts (Atom)